I’ve just finished designing and making a winter skirt and have even worn it out of the house. Progress at last!
Design
The skirt is a very simple A-line with two back darts and a concealed side zip. It has a free hanging lining. There’s no waistband: it’s just bound at the top with some satin bias binding.
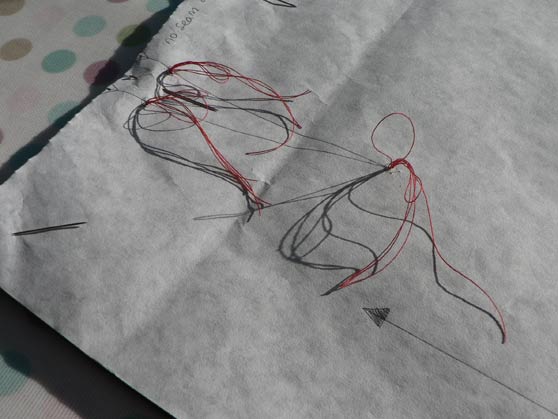
I’d planned to add some embroidery but left the skirt plain in the end. My original idea was to embroider some seed heads drifting across the skirt front but this just didn’t feel right for the dark brown moleskin fabric. I experimented with some stars in different shades of grey and other wintry ideas but, to be honest, my embroidery was pretty terrible and I thought it would just look stupid.

I still quite like the seed heads idea but will maybe try it out on a summer skirt – it might look nice embroidered on a voile layer on top of a darker coloured inner skirt.
In practical terms, there is one big problem with the skirt design in that I can’t cycle to work in it. I did think about adding a pleat but decided to keep it simple in the end. Maybe next time…
Pattern
The pattern is one I drafted from my measurements a couple of years ago. I made the original skirt from this pattern in medium-weight cotton. As I was worried that the new skirt would be slightly too small made in thicker moleskin and worn over tights, I redrafted the pattern and added 3mm at each side edge. I also thought that the moleskin needed a deeper hem so added 3cm to the length.
Materials
- 1m of 150cm-wide dark-brown cotton moleskin
- 1m of 120cm-wide burgundy cotton
- 23cm concealed zipper (in dark brown)
- 1m dark-grey satin bias binding
- Threads to match – grey, brown and burgundy
Cutting out
I washed the lining fabric and moleskin at 40 degrees and soaked the zip in hot water to pre-shrink it. It was pretty easy to lay out the pattern pieces – nothing complicated required. I used notches and tailor’s tacks to transfer the pattern markings across to the fabric.


Construction
Making up the skirt was pretty straight forward though inserting the zip was a little tricky. It’s not the best job I’ve ever done but it’ll be OK. The satin binding was very slippery so I put an extra line of stitching in to make sure that it is definitely attached to the top of the skirt. Sewing machine settings were tension of about 4, stitch length of 2 for the darts and 2.75 for everything else.
My original plan was to have a 4cm-deep hem on the skirt outer but this was really hard to do with the thick fabric and A-line shape. I cut 2cm off the bottom of the skirt and made a 2cm-deep hem instead. This meant I had to cut an extra 2cm of the lining as well. If I had any sense I would go and write this on the pattern right now to remind me next time I make this skirt. Oh well… carrying on… here’s the method I used for sewing the skirt together:
Outer skirt
- Pin, tack and sew darts in back of skirt. Press to centre.
- Sew side seams (1.5cm seam allowance) – one all the way up and one part way to tailors tack.
- Finish side seams to top on both sides – straight stitch about 1cm from seam then trim edge with pinking shears.
- Insert zip – press zip, mark guideline, position top of zip tape at top of skirt then tack in place. Follow instructions on page 342 of Reader’s Digest Complete Guide to Sewing.
Lining
- Pin, tack and sew darts. Press to outer edges.
- Sew side seams (1.5cm seam allowance) – one all the way up and one part way to tailors tack.
- Finish side seams to top – fold edges under 6mm and stitch
Whole skirt
- Match outer and lining wrong sides together, pin at waistline and tack.
- At zip, turn lining under and pin to zip tapes. Slip stitch lining to zip tapes and remove pins – see page 79 of Reader’s Digest Complete Guide to Sewing.
- Bind waistline with bias tape.
- Sew hook and eye to edge of binding.
- Hem skirt outer – fold up 1.5cm then 2cm and top stitch.
- Trim 3.5cm from lining then hem – fold up 1cm then 1.5cm and top stitch
The finished skirt
Finally, here is the skirt – complete with some legs and a pair of boots. The pictures are a little dark as someone seems to have turned the lights out here – I guess it’s called November.


{ 1 comment… read it below or add one }
Nice. I have a moleskin pants I thrifted but are too big in certain places. I was looking for inspiration. I might turn it into skirt.